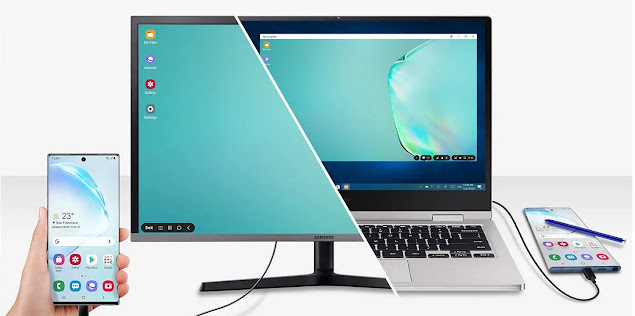
Amongst the most popular tech companies, two names that instantly come to mind are Android and Windows. Have you ever thought of linking your Android phone to a Windows PC so that you could operate the same without a phone?
Well, Microsoft’s ‘Your Phone’ enables the same, giving you access to all the information on your phone, on a PC. Notably, before setting it up, make sure that your PC has the 2018 update or later and an Android device running Android 7.0 or later. Unfortunately, the app doesn’t work with an iPhone, but all the Android users are in luck.
How to Set Up and Use Microsoft’s ‘Your Phone’ App?
The steps to set up and use Microsoft’s ‘Your Phone’ app are:
- Download the ‘Your Phone Companion’ app from the Google Store on your Android phone.
- Launch the app and log in with your Microsoft account.
- Once you’ve entered the details, hit the ‘Continue’ button.
- A permissions window will open. Tap the ‘Continue’ button to grant permissions.
- Click on the ‘Allow’ option to give permission for the app to access your contacts. The contacts are used to text and call from the PC.
- Tap ‘Allow’ to grant permission for making and managing calls.
- Tap ‘Allow’ to give access to your photos, media, and other files.
- Tap ‘Allow’ to send and view SMS messages.
- Click on the ‘Continue’ button in the next window to let your app run in the background, so it stays connected to the PC.
- A pop-up menu will appear. Click on the ‘Allow’ option.
You’re done with the steps on your Android phone for now. The app comes pre-installed on a PC. Thus, follow the steps further:
- Open the app by searching it in the Start menu. In case the app isn’t available, download the same from the Microsoft Store.
- Open the app on your computer, and it’ll detect the device you’ve just set up. Further, click on the ‘Make this my default’ option to set your Android device as default.
- You’ll receive a notification on your phone asking you if you want to connect to the PC. Click on the ‘Allow’ option to continue.
- Once you’ve granted permission, a welcome message will appear on your PC’s screen. Click on the ‘Get Started’ button.
- The next window will guide you to set and use the features of the app. Click on the ‘See my notifications’ tab.
- Click ‘Open Settings on Phone’ to grant the app permission to view your notifications.
- You’ll receive a notification on your phone. Tap ‘Open.’
- Turn the slider on for the ‘Allow Notification Access’ option.
Now, you’ll be able to see your Android notifications in the ‘Notifications’ tab of the app on your PC.
- Similarly, the ‘Messages’ tab will show you your messages. No set up is required for the same.
- The ‘Photos’ tab will allow you to view your media.
This is it! It seems like a lengthy process; however, once you connect your phone with the PC, it is as easy as regularly using your phone. The app is convenient, and if you spend a lot of time using your PC, it is a go-to option.
Source: A Guide on Linking an Android Phone to a Windows 10 PC Using ‘Your Phone’ App


