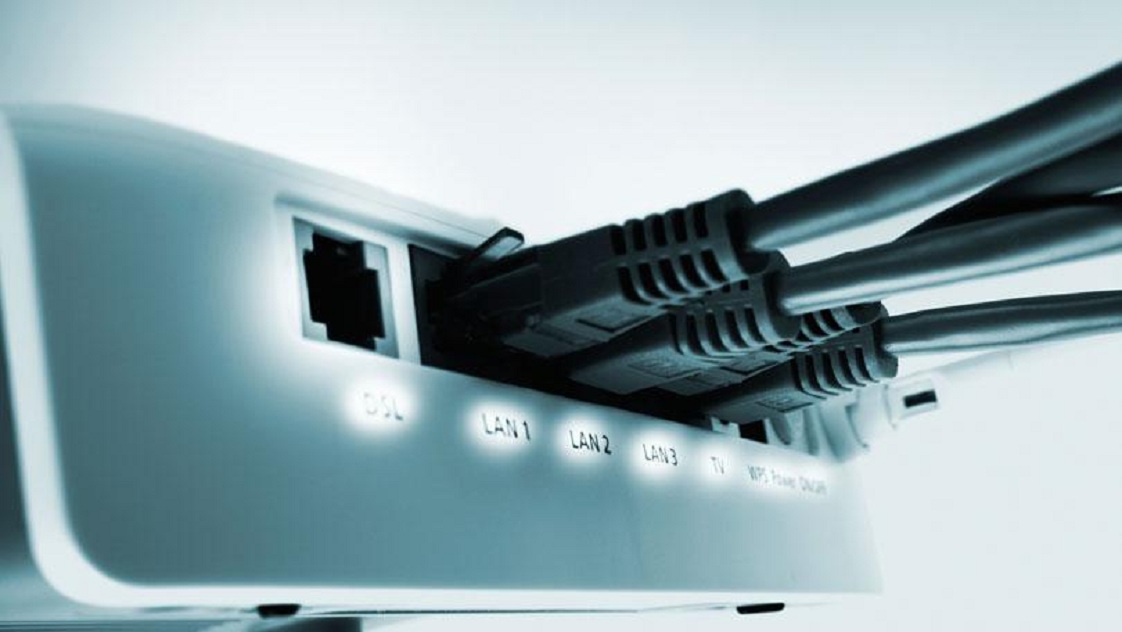
Wireless networking has made things simpler to an extent. However, all the computers still not being offered with a wireless networking card. It is not a daunting task to install a wireless networking card on your PC though. You can quickly install a wireless networking card on your own by using the method described in this blog. If you don’t want to install a wireless internet card, you can choose to use the USB dongle as well. Use the below-given guide to install the wireless networking card.
Installation steps of the wireless networking card
The setup process might be slightly different according to the Wi-Fi networking card that you are using. So, check the instruction that comes to you with your card first. The standard PCI-E installation, however, will be almost the same for most of the computers. For quick and easy installation, follow these steps:
1. Shut down your computer
First thing first, ensure that no active power supply is there with your computer. It might damage your computer and you if you try to install the card with the power on. So, the best solution is to turn off your computer and unplug the device from the mains before moving ahead with the process.
2. Remove the case
The process to open the case of each computer is not the same. Though, most of the computers come with a removable case and include screws to remove the case. There can be a lever also for opening the case. If you find any issue with removing, it is better to check the instruction manual. The process to open the case is mostly given in it.
3. Find the exact slot
Once you open the case, it is now the time to find the empty slot where you need to insert the card. The slots usually align with the removable metal place. Find the same to move ahead with the installation process.
4. Remove the plate
Most of the computer features removable plates, and you need to remove the plates to place the card. Make space for it first by unscrewing. There will be one or two screws that you need to remove. As before, you can check the instruction manual for this process too.
5. Adjust the wireless networking card perfectly
You can now install the wireless networking card through holding it by the faceplate. The chips need to be at the bottom side for perfect installation. Move to the next step further.
6. Insert the wireless networking card in the PCI-E slot
Now push the card in the dedicated slot and place it properly. It needs to be seated correctly to run smoothly. And, the faceplate needs to be up against the hole.
7. Screw the wireless networking card
Find the screw that you used before for removing the metal plate. You will have to place them again in the right place to secure the card.
8. Attach antennas after removing yellow caps
Remove yellow caps available on the back side of the card and adjust in the antenna section.
9. Re-arrange the computer case and turn it on
After you install the card successfully, close the removed computer case and power on your device. The relevant drivers will be installed automatically, or you can install them manually. The installation process completes here now!
Enne Garcia is a self-professed security expert; she has been making the people aware of the security threats. Her passion is to write about Cyber security, cryptography, malware, social engineering, internet and new media. She writes for Norton security products at www.norton.com/setup.
Source: https://quicksetupme.com/best-way-to-install-wireless-networking-card-on-pc/


