


In order to work with Echo devices, you need to create an Amazon Alexa account (if you don't have one already). Go to alexa.amazon.com alexa app and create your account. Create your own username and password. Once you have created the account, you can do a lot of things using your Alexa app. In this guide, we will be sharing all the instructions in detail that will help you to connect the Echo Alexa app to your Amazon account and use smart services offered by Amazon Echo.
Here are the step by step instructions you need to follow to do this:
Step 1: Download the Alexa App
Having a free Alexa application is the topmost requirement in case you have an Amazon Echo or Echo Dot. You'll require it to get your Echo set up. Download it on any cell phone or tablet with iOS 11.0 or higher, Android 5.1 or higher, or Fire OS 5.3.3 or higher. Basically open up the application store on your device and search "Alexa application." Downloading the application on a PC? Ensure you're connected with Wi-Fi, visit the official Amazon Alexa site to download it.
Step 2: Plug in the Echo
This is the most important thing to consider here is that the Echo doesn't require any batteries to work. Thus you need to plug the power cable into the Echo and attach it to an electrical plug. At the point when the light ring turns blue implies that your device is connected. Wait for a while and let it turn to orange, as this is an indication that your Alexa is getting ready to welcome you. When you are done with this, you hear Alexa's voice disclosing to you the gadget is prepared for set-up.
Step 3: Connect the Echo to Wi-Fi using the application
Next, you'll have to connect your Echo device to your home Wi-Fi. The most recent variants of the Echo should direct you through this procedure. Else you can simply open the Alexa application and search through the devices until you discover yours. On the off chance that you have different Echo devices, make sure you go to Devices tab and click to choose your Alexa device. Under the Wireless, you can check the wifi connection.
When you are connected, you can save your Wi-Fi password to Amazon, which makes it simple to connect with the other smart devices at home or set up another Alexa device on a similar network- if you decide to buy more Echoes for different rooms. You can also connect your Echo device to the public network as per your choice.
Step 4: Start conversing with Alexa
To begin, say the wake word, which is "Alexa." But if you want to change the wake word, tell the Echo, "Alexa, change the wake word." You can likewise change the wake word by opening up the Alexa application, tapping help and feedback section, and choosing change the wake word option. As of now, you can change the Echo to react to the "Echo" "Amazon," and "Computer." You cannot use any other wake-word for Alexa.
Step 5: Start using your Echo
Congrats, your Amazon Echo is good to go up and used in your everyday life. To ensure everything's working appropriately, you can directly test by giving a couple of commands. For instance, say the wake word and "Hi." If your Echo is appropriately set up, Alexa ought to react with a straightforward "Hi".
There is a lot more than the Echo can do for you. You can check the sections 'things to try', 'skills and games' to make the best use of your Alexa device.
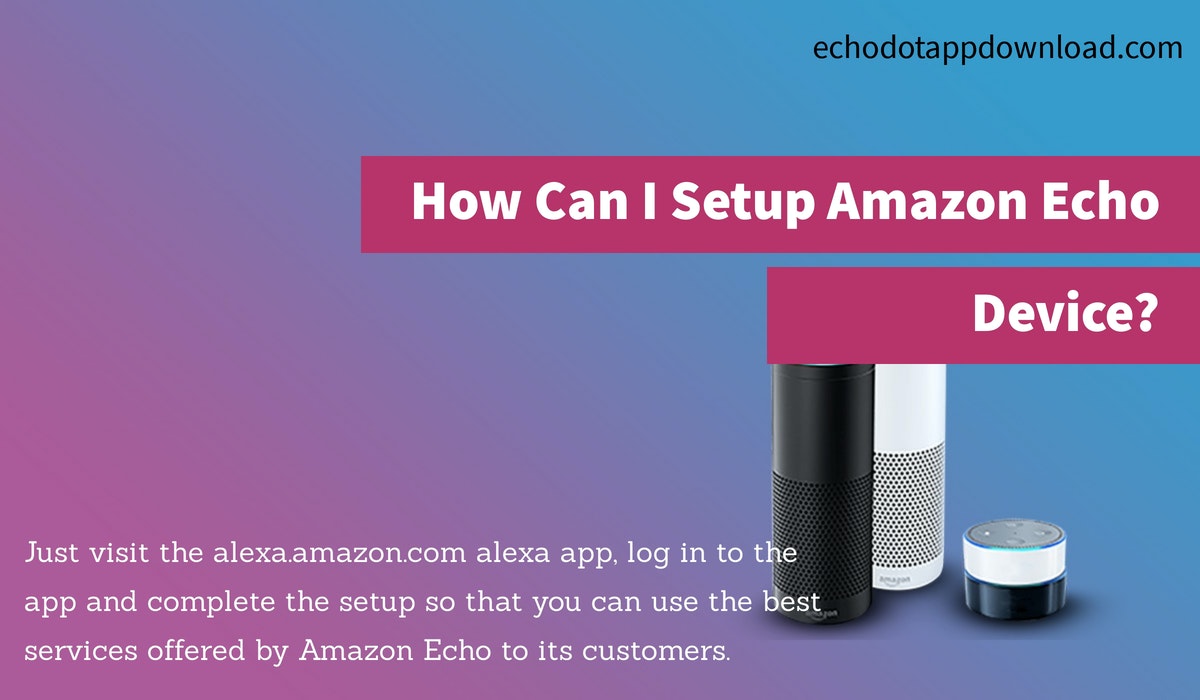
You can begin using your Amazon Echo device to prepare a to-do list or shipping list, check the weather updates, keep an eye on traffic conditions, call your friends and family, send instant messages to your family, stream music or manage the smart home device. Just visit the alexa.amazon.com alexa app, log in to the app and complete the setup so that you can use the best services offered by Amazon Echo to its customers.


The Redmi Note 9 series launch will be live-streamed through the Redmi India YouTube channel.
The Mi.com site is also expected to receive an update with the live streaming video of the event launch through a microsite.
The Livestream will begin at 12 pm (noon) IST.The Redmi Note 9 is reported to be priced around Rs 11, 000, slightly more than its predecessor Note 8.
While the Redmi Note 9 Pro is rumored to cost around Rs 12,000 to 15,000, the Redmi Note 9 Pro Max is rumored to be priced under Rs 20,000 roughly between Rs 15000 to Rs 17000SPECIFICATIONRedmi Note 9 Pro in the series will have at least 6GB of RAM and run Android 10 out-of-the-box.
The smartphone is also said to include Qualcomm Snapdragon 720G SoC that supports India’s NavIC in addition to GPS, A-GPS, and other global navigation technologies.


Customer relationship management system works as a heart and soul for any given organization. Due to the availability of multiple variants, choosing and implementing CRM Development remains to be one of the most challenging decisions that IT specialist has to make.
Why do you need to build custom software?
Increase in revenue, marketing efforts, changes in the range of products or services offered, and improved sales would change the company’s requirements when it comes to functionalities in the CRM. With a custom CRM, you can add features, expand the system with the help of your developers and enable your employees to work efficiently. You can even downgrade the software and reduce functionalities as and when required.


A feedback app will help to improve the products and services launched by the business.
If a feedback from the customer can give you a better insight into how your services are profitable.Read more - http://www.getmyappz.com/blog/how-feedback-app-helps-in-customer-satisfaction/


