


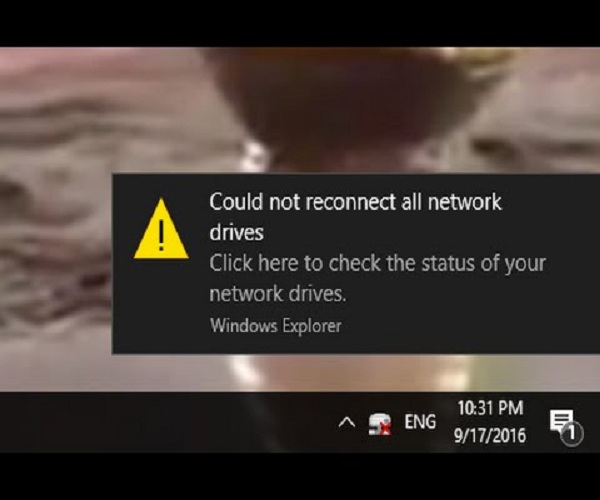
When you turn on your system, you may, all of a sudden, encounter the ‘Could not reconnect all network drives’ error due to various reasons. At times, the mapped network drive may fail to reconnect in Windows 10. So, if you are facing a similar issue, then here are some solutions given below.
Create Windows Wait for Network
You should follow these steps given below:
- Press the Windows and R buttons to open the Run box.
- Thereafter, insert ‘gpedit.msc’ into it and hit the Enter key to launch the Local Group Policy Editor.
- Then make the way to the following location: Computer Configuration > Administrative Templates > System > Logon.
- Thereafter, reach the right side and locate the policy of ‘Always wait for the network at computer startup and logon.’
- You should double-click on it.
- Later, choose the ‘Enabled’ option and click on the Apply button then select the OK button.
- Now, restart the PC to apply the changes.
Through the Task Scheduler
You should follow these steps given below:
- Firstly, make a folder of Scripts in the system and then paste the PowerShell script.
- Thereafter, launch the Task Scheduler.
- After opening the Task Scheduler, select the drop-down menu of Action and then select the option of Create Task.
- Once you reach the General section, add a name.
- Then select the option of ‘Change User or Group’, and choose a user or local group.
- Click on OK.
- You should mark the option of ‘Run with highest privileges.’
- Select the tab of Triggers and press the button of New.
- For the option of ‘Begin the task’, select the option of ‘At log on’ through the menu of the drop-down.
- Thereafter, click on the button of OK.
- You have to click on the tab of Actions and press the button of New once again.
- Choose the ‘Start a program’ option through the drop-down of ‘Action’ and input ‘Powershell.exe’ for the box of script/program.
- Input the following commands for the box of ‘Add arguments’: -windowsstyle hidden -command .\MapDrives.ps1 >> %TEMP%\StartupLog.txt 2>&1
- For ‘Start in’ section, you should enter the PowerShell script location: %SystemDrive%\Scripts\
- Later, click on OK to shut the screen of ‘New Action.’
- Now, move to the tab of Conditions.
- Beneath the Network section, don’t forget to mark the ‘Start only if the following network connection is available’ box.
- Finally, click on the option of Any connection and select the button of OK.
Installing the Update of KB4469342
You should follow these steps given below:
- Make the way to the catalog of Windows Update.
- After that, browse for the update of KB4469342 and download the update for the PC.
- Install the update.
- Now, restart the PC.
By following the solutions mentioned above, you will be able to fix the network drives related error.
Ava Williams is a self-professed security expert; he has been making the people aware of the security threats. His passion is to write about Cybersecurity, cryptography, malware, social engineering, internet and new media. He writes for Mcafee products at mcafee.com/activate.
Source : Network Drives


SmadAV Antivirus is an Indonesian antivirus that has been growing in popularity around the world due to its lightness and effectiveness.
SmadAV Antivirus is designed as second layer security for your computer.
Smadav Pro is an additional antivirus to protect your computer from malicious attacks, especially viruses from removable media such as flash drives, optical drives, and network drives.
It scans every mobile device connected to your computer, especially from USB drives.Smadav provides you with a side companion to your existing antivirus solution.
It can also be used as a basic program, but we strongly recommend that you do not place all your confidence in its capabilities to keep your files safe.
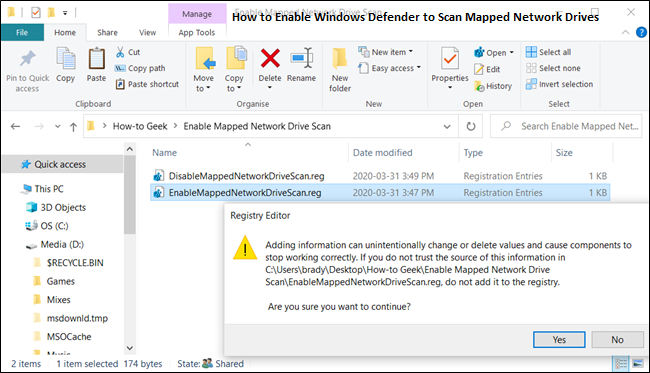
In case you have a mapped network drive on your Windows 10 PC, then Windows Defender will not scan it for potential security risks.
But it is essential to make sure that it is also scanned during every routine scanning of Windows Defender to keep your system safe.For more info: Windows


