Best ways to Setup Canon Pixma tr4520 Printer
Check if the package contains all the components needed for the ij setup. If you wish to connect your canon tr4520 printer to the computer with a USB cable, get one from the retail store. As Canon will not provide the USB cable with the printer package, get a compatible one and perform the connections. Install the Canon printer driver on your computer and run a test print.
Canon Pixma tr4520 driver installation process
Drivers are the software that allows your computer to connect and communicate with the printers. It enables the user to control and customize the printer.
- Click on the “Download” icon to download the appropriate drivers for your operating system.
- Find and open the downloaded driver from the downloads folder.
- Ensure that you have downloaded the correct format of driver software for your Canon Pixma tr4520 printer.
- Drivers for windows will be in “.exe” format, and for mac will be in the “.dmg” format.
- Refer to the instructions in the installation window.
- Choose the additional function programs to avail of all the functions of the canon printer.
- To proceed with the connection process, select the mode of connection in the setup windows.
- Connect the printer to a wireless network before opting out for a wireless connection.
- Agree to license agreement and terms to complete the driver setup.
- Perform test prints to ensure that the canon tr4520 printer is up and ready to use.
- For any queries, reach out to our support team for instant help.
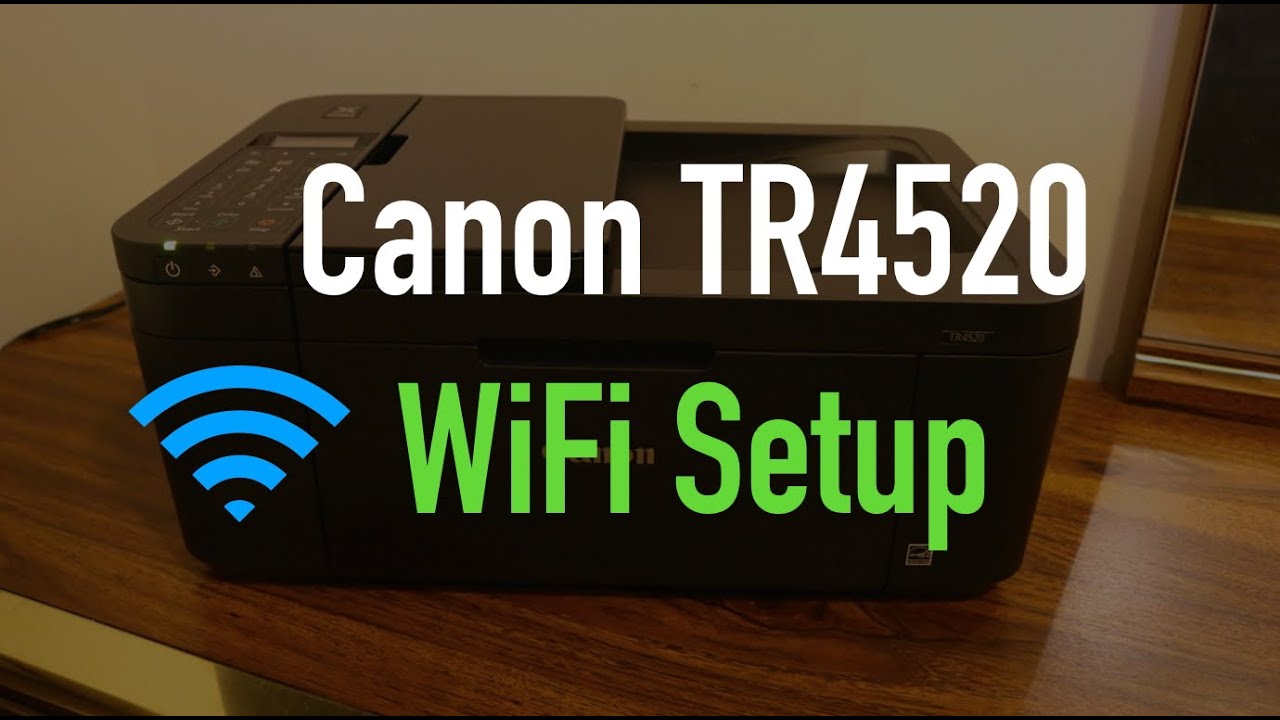
Canon Pixma TR4520 Wireless Setup
Wireless connections are user friendly than wired connections, which makes the printer setup process Easier. Refer to the steps given below for the Canon TR4520 printer setup process.
- Connect the canon printer to the power source and push the power button to turn on the printer.
- Press and hold the blue “WPS” button at the back of the Pixma tr4520 printer for 3 seconds until the orange light flashes.
- A blue light blinks as the printer searches for the access point.
- Once the canon printer is on, it displays a screen.
- On the printer home screen, press the Menu button and select the Wi-Fi setup option,Select the “Wi-Fi set up” option and choose the Manual setup method.
- Select the preferred Wi-Fi network from the list of networks shown.
- Enter the Wi-Fi password using the arrow keys on the printer and press ok.
- The printer will connect to the Wi-Fi within 3 seconds.
Press “Ok” as the screen displays Connected.
How to connect Canon tr4520 to Windows computer wireless?
- Follow the below instructions to connect the tr4520 printer wirelessly to a windows computer.
- Refer to the wireless setup instructions given on this page to connect your printer to a wireless network.
- Ensure that the wireless light is solid, and then download the driver software on the computer.
- Follow the instructions on the setup screen and agree to the license agreement.
- Select the preferred mode of connection as “Wireless” and click Continue.
- Now, the software will detect the printer as the wireless setup has already.
- Click on “Continue” and select other utility software for printer management.
- Click on Finish, and the canon printer will be connected wireless successfully.
Guide to canon printer ts3122 setup
- Follow the below steps to complete the canon ts3122 setup procedure.
- You will receive the printer in a safely packed box.
- Remove all the packing materials and take the canon printer out of the box.
- Place the canon printer in your preferred place and insert the power cable.
- Connect the power cable to the wall outlet and press the power button.
- Open the printer access door to insert the new canon ts3122 ink cartridges.
- Wait for the notification of newly installed cartridges and click Next.
- Open the paper tray of the canon printer and load enough papers. Adjust the paper width glides as per the size required.
- The initial setup is over and starts to perform printer setup.
How to install perfect driver for canon pixma ts3122 printer
- Complete the initial ij.start.canon ts3122 printer setup before installing the driver software.
- Use the download link given below to download the full drivers package for canon ts3122 drivers.
- Open the downloaded software and run it to start the installation.
- Agree to the license agreement and follow the instructions given in the setup software.
- Ensure to include other function drivers to use the multi-functions of the printers.
- Select the mode of connection as wired or wireless.
- Click “Next” and follow the displayed instructions.
- Do reach our support team to ease the Canon Pixma ts3122 driver installation process.
How to connect Canon ts3122 to Wireless Mac?
- Examine the router set up and network connection before turning up the canon ts3122 printer.
- Press “Stop” if the green light flashes near the power button and, to avail the wireless connect mode, press and hold the “Direct” button.
- Download the installation software by visiting the link given on our webpage.
- Open and install the downloaded file on the Mac.
- Enter Mac user name and password to start the software.
- Set up the preferred location and do agree with the license agreement displayed on the screen.
- select the preferred connection as wireless on the connection method screen
- The program will scan and enlist all the available networks.
- Choose your network and enter your wireless password to add the canon printer.
- Open system preferences, click the “Add printer” option and enter your username and password to add the Pixma ts3122 printer.
Canon pixma ts3122 Wireless setup for Windows computer
- Plugin and turn on the canon Pixma ts3122 printer, simultaneously ensure proper router setup and network connection of the computer.
- Power on the canon ts3122 printer and press the “Stop” button if the green light blinks continuously.
- Press and hold the network button on the ij canon printer until the wireless icon appears on the printer screen.
- Now press the WPS button on your router within 30 seconds for a successful connection to your router’s network.
- Download the http //ij.start.canon driver software to your computer by following the above-given steps.
- Open the downloaded software on the computer and click Start setup.
- Select region and language on the printer screen and do agree with the terms and conditions.
- Select the mode of connection as wireless
This setup method, is done manually using a USB cable of 2 meters in length. Follow the below steps to get the ij start canon ts3122 printer connected to the system via a cable.
- Firstly, connect the USB cable to the appropriate ends of the printer and computer.
- Download the Driver for the printer on your computer.
- Ensure to install the utility programs for printer management.
- Locate the region and select the language to start up the driver.
- Click “ Agree” on the license agreement page and select the connection mode as USB.
- Click “Next” and follow the onscreen instructions to complete printer setup for canon ts3122 wired setup connection.
- For further assistance, reach at online support agents to get the help for Canon TS3122 Setup


Canon is a famous brand of Printers that grabs the attention of many people.
Most of the Canon Printers nowadays are known as all-in-one Printers as it can Print, Fax, Scan, and Copy.
It is a brand that holds the attention of many people due to its exclusive features.
You can start printing even at your home.
If you want to set up the Canon Printer and look for help, then contact the experts.
For more information about the Canon TS3122 Printer Setup, visit the official website of the Canon.

Dial +1-888-633-7151 for How to Connect Canon TS3122 Printer to WiFi?Easy step to Canon ts3122 Setup and Canon ts3122 Wireless Printer Setup.

If you want a quick guide for canon Pixma TR4520 wireless printer connection setup.
Then visit the Com IJ Printer website, who offers you 24/7 online support to their clients across the globe at free of cost.
We provide you instructions, installation, Wi-Fi wireless connection, User Manual, and start guide of the Canon PIXMA TR4520.

Do you want to setup your Canon Printer following the easy guidelines?
visit the canon.comijsetup setup link and follow the instructions to complete the setup process.
to know more, visit the website now,