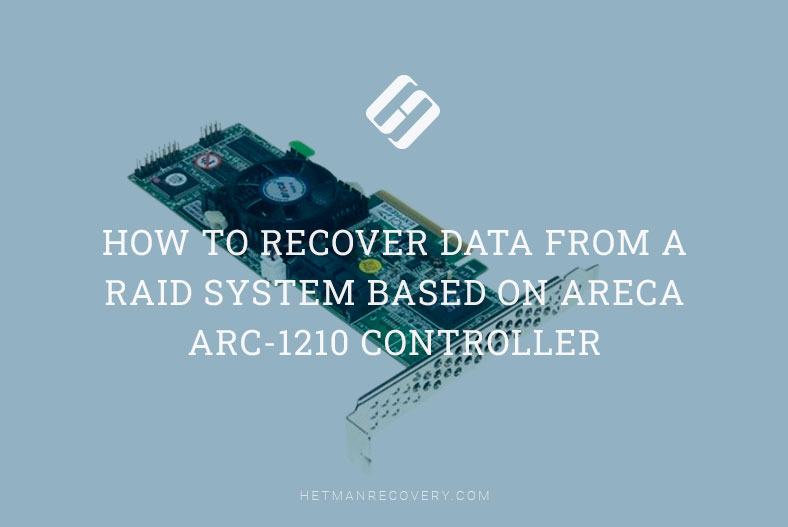
In this article, we’ll find out how to work with RAID systems based on Areca ARC-1210 controller: how to build a disk array, what to do if the controller doesn’t work, and how to recover data from a hardware-based RAID 5.
Losing important data is something that you can never predict. Although RAID 5 is one of the most reliable solutions to store data among other disk array types, it can’t guarantee 100% protection against data loss. At any time, one or several disks may fail, and this is also true about the controller, or other hardware components. Other possible issues may include wrong configuration, accidental removal of hard disks or their formatting – but the result the same: important information can be lost for good.
How to create a RAID 5 array on Areca ARC-1210 controller
First of all, let’s explore the process of creating a RAID system, the important aspects to be considered when building it, and the settings which become crucial if you want to make data recovery possible. This RAID will consist of three hard disks combined into an array with the help of Areca ARC-1210 controller.
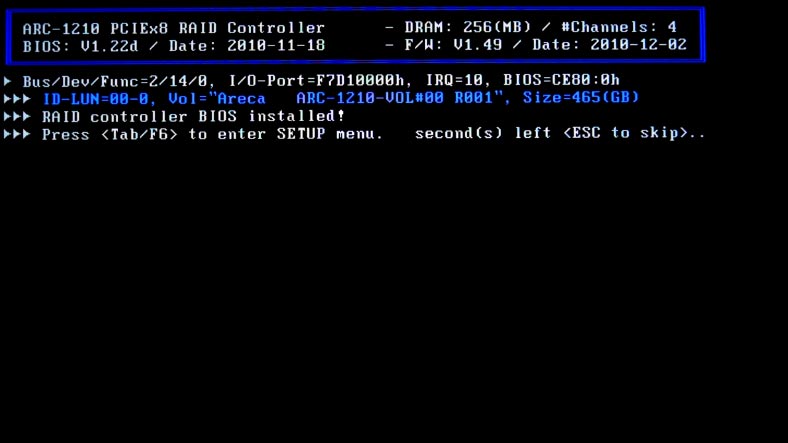
When starting the operating system with the installed RAID controller and the hard disks, this message will appear on the screen. It will remain there for about five seconds, which gives you enough time to start the Setup tool by pressing the Tab or F6 key. To skip setup, press ESC.
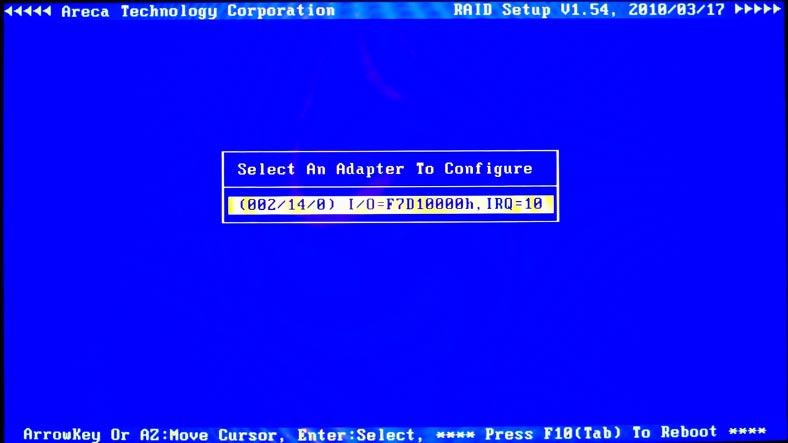
When you enter the Setup menu, you’ll see the BIOS window with the dialogue box which lists the controllers connected to the motherboard. Use the Arrow Up and Arrow Down keys to select the adapter which needs to be configured, and then press Enter to access the main setup menu.
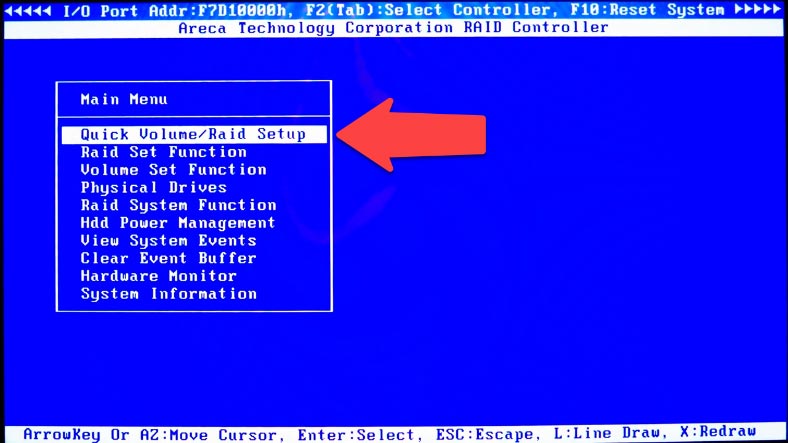
For quick configuration of your RAID system, select the first menu item – Quick Volume/RAID Setup – and press Enter.
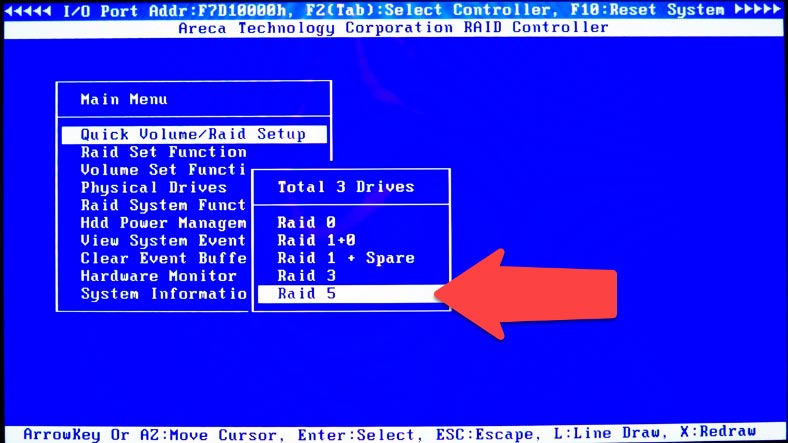
Select the RAID type from the list and press Enter to continue.
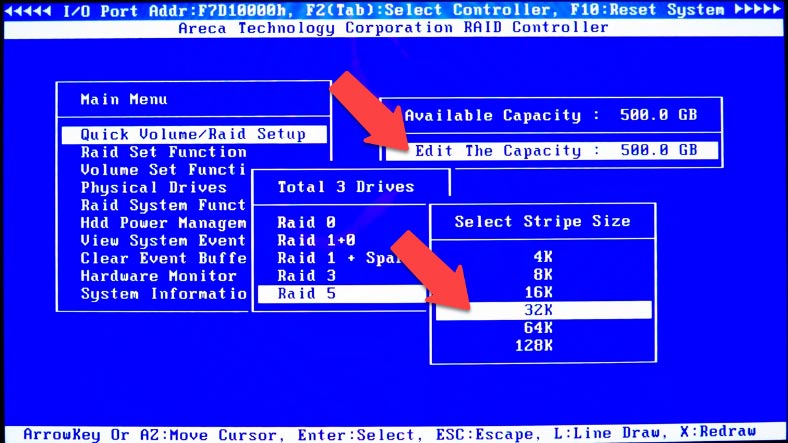
Set the volume capacity, stripe size, select “Create Volume” – “Yes” – and press Enter to confirm.
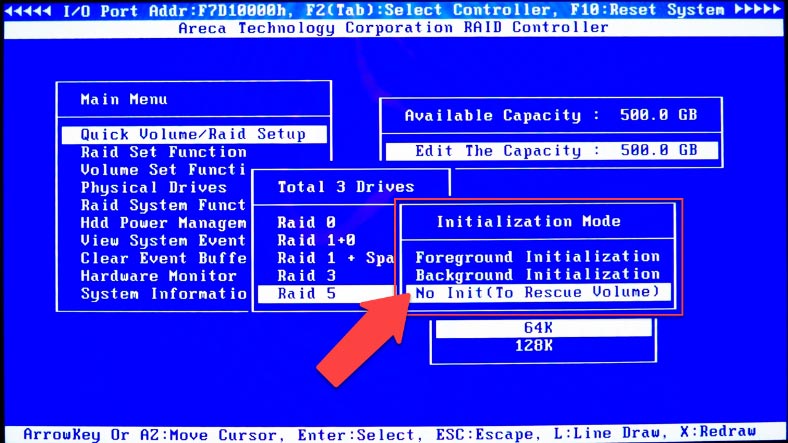
After that, choose initialization mode – Foreground Initialization/Background Initialization/No Initialization – and press Enter to confirm it.
Now the RAID system has been created. To exit and restart, press the Tab key several times.
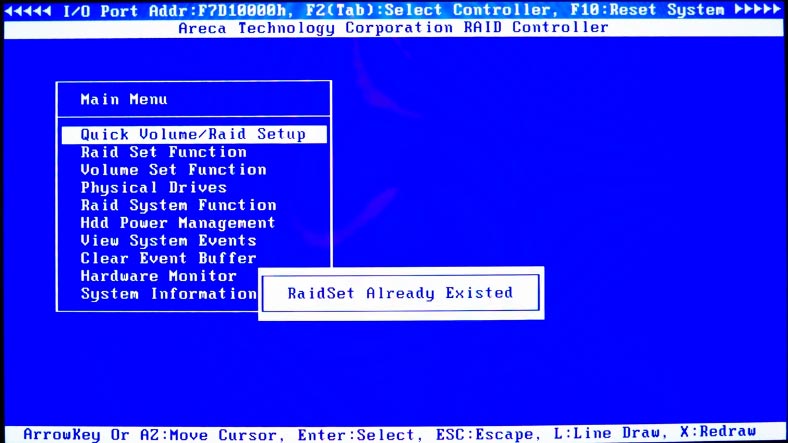
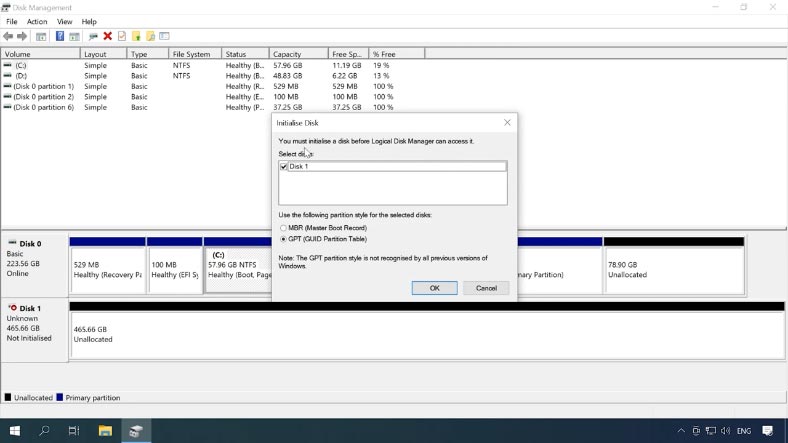
When the system starts booting again, skip the setup stage by pressing ESC and wait until the system boots. Open Disk Management and partition the new volume.
How to create a RAID with the manufacturer’s utility
The other way to create a RAID system is by using a web browser or the manufacturer’s utility ArcHTTP. The utility will help you identify the controller and its IP address. Launch it by double-clicking on its icon in the quick access menu or open it from the Start menu.
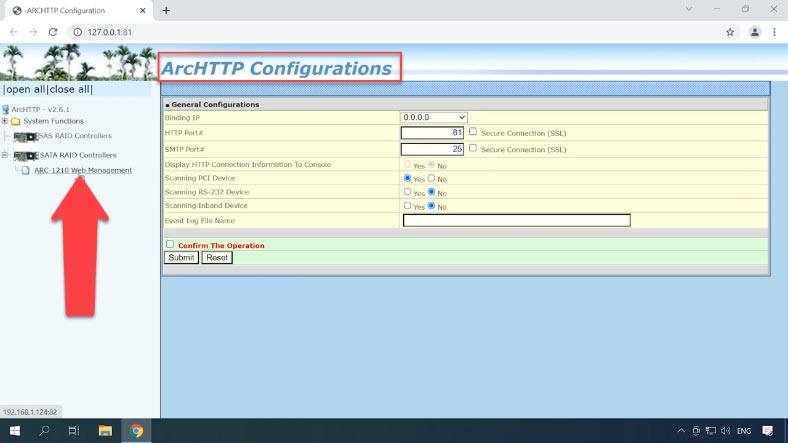
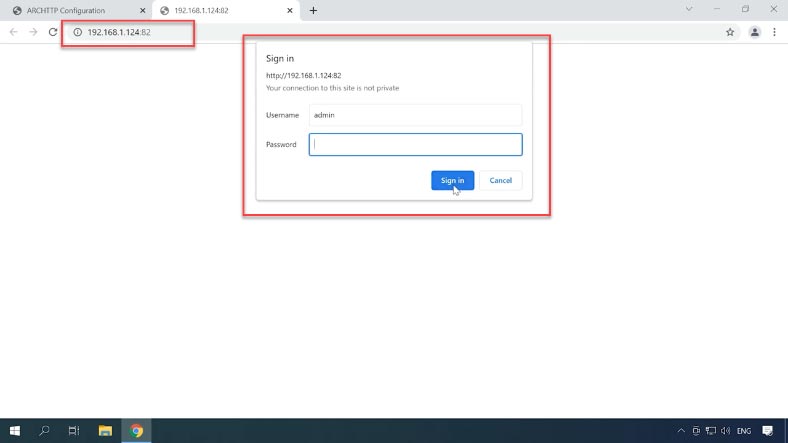
On the left side of the browser window, you will see the list of identified controllers. Select your device from the list and expand this tab. When you click on the model, a new browser tab opens, with the IP address of your storage device. If the controller cannot be identified, download drivers and install them manually.
To access the RAID controller management panel, enter username and password: by default, the username is “admin” and the password is 0000.
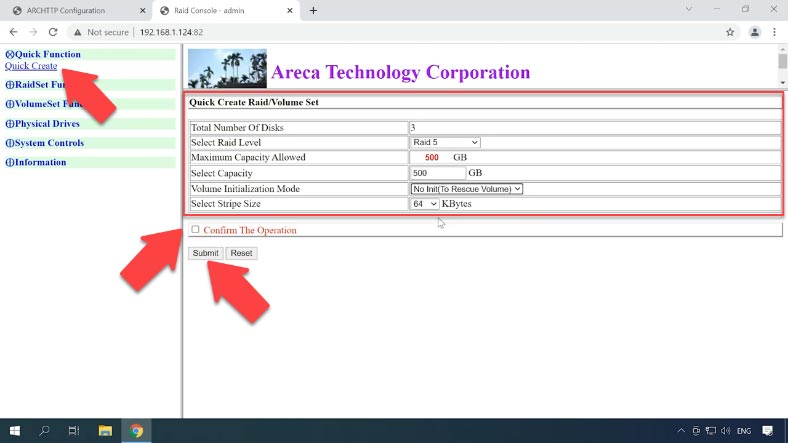
Open the tab Quick Function – Quick create. In the window that opens, look to the right to select RAID level, set the capacity, initialization mode, stripe size; then check this box and click “Submit”.
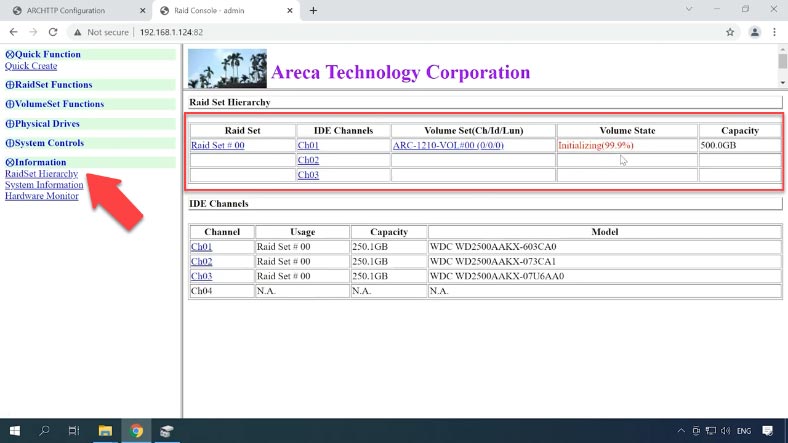
The volume is created; wait for the initialization process to finish, and then it will appear in the Disk Management menu. The last step is to partition it and write your data to the disk.
Open Disk Management – Initialize disk – OK – and partition it.
How to recover data after accidental removal of the controller or a controller failure
When the controller fails, you won’t be able to access the data on the disks without replacing it. You can try reading the hard disks with the help of a Linux operating system, but if you aren’t an expert user, there’s always a risk of making things even worse and losing the data completely.
If your attempt at replacing the damaged controller wasn’t successful, then use a specialized RAID data recovery tool – Hetman RAID Recovery. This program supports most popular file systems and RAID types. It can read all the information about the controller used to create the disk array, and then it will rebuild the damaged RAID system.
Read the full article with all additional video tutorials. Also visit our Youtube channel, there are over 400 video tutorials.


