


Whether you want to blur backgrounds, emphasize colors, or create an ethereal atmosphere, you're searching for simple ways to achieve that desired dreamy blur effect effortlessly. We will dive into the powerful techniques that will guide you through the process step-by-step to add blur to a photo. Discover how to blur an entire picture, selectively blur specific areas, add a blurred background, and even blur faces in your photos.
- Part 1: Overview of Software, Mobile Apps, and Online Tools for Adding Blurring Effects
- Part 2: Detailed Information of These Tools
- I. Computer Software
- II. Mobile App
- III. Online Tools
- Part 3: How to Add Blur Effect to A Photo
- Part 4: Conclusion
Part 1: A.Overview of Software, Mobile Apps, and Online Tools for Adding Blurring Effects
When it comes to adding blurring effects to your photos, there are several choices of desktop software, mobile apps, and online tools available that offer a range of features and functionalities. The following are some popular tools that users can consider:
Computer Software
1. PhotoShop-- A professional-grade software widely used by photographers and graphic designers.
2. AVCLabs PhotoPro AI -- An AI desktop software designed for photo editing and enhancement purpose, providing advanced image processing capabilities.
3. PaintShop Pro -- One-click fixes or advanced photo editing.
Mobile App
1. Snapseed (iOS/Android) -- A popular mobile app available for both iOS and Android devices.
2. AfterFocus (iOS/Android) -- Specializes in creating depth-of-field effects and selective blurring.
3. PicsArt (iOS/Android) -- A popular photo editing app that offers a wide range of creative tools, including blurring effects.
Online Tools
1. Fotor -- An online photo editing tool that offers a range of blurring effects such as Smart Blur, Tilt-Shift, and customizable blur brushes.
2. Canva -- Is primarily a graphic design platform but also offers basic photo editing capabilities, including blurring effects.
3. BeFunky -- An online photo editor known for its simplicity and user-friendly interface.
We will give detailed instructions for each tool in the next part.
Part 2: Detailed Information of These Tools
I. Computer Software
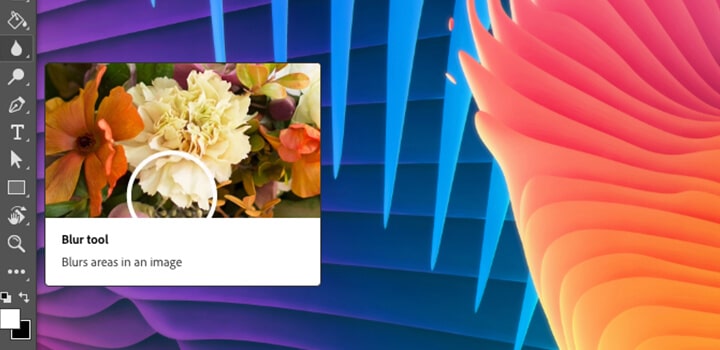
* PhotoShop
It offers comprehensive features for editing and manipulating images, including various blurring techniques. And provides precise control over blurring effects with tools like the Field Blur, Iris Blur, and Tilt-Shift Blur.
You can add a blur effect with a brush. Select the Blur tool in Photoshop, choose a brush tip and strength, and drag it over the spots you want to blur.
You also can add movement to a static object or person in a photo by applying a directional Path Blur filter in Photoshop.
 blur image with PhotoShop
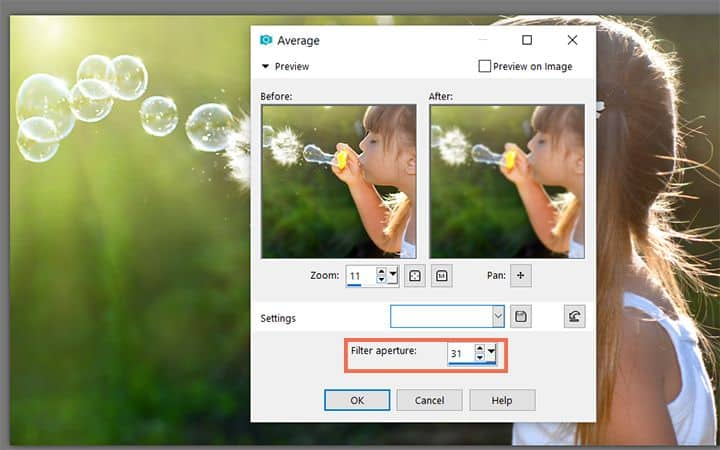
* PaintShop Pro
It is an all-in-one photo editing and graphic design software featuring one-click fixes and advanced photo editing tools. Download and install PaintShop Pro photo editing software on your PC. Open your photo in it. Choose Adjust > Blur > Average. The Average dialog box appears. Then set a value in the Filter aperture control. So you have applied a blurring based on nearby pixel intensity.
 blur image with PaintShop Pro
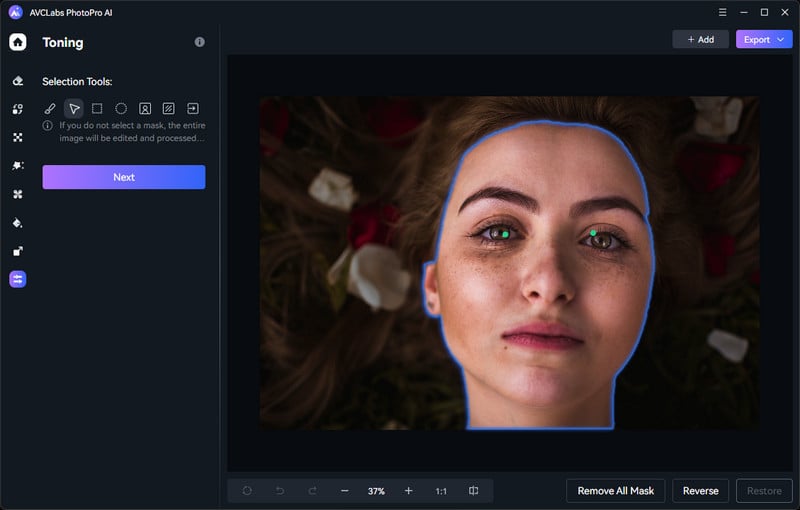
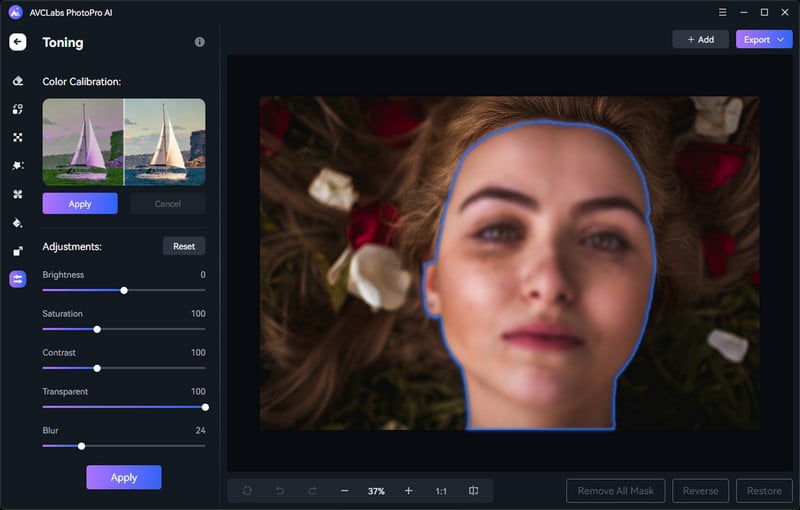
* AVCLabs PhotoPro AI
This is a smart tool to do the blur work automatically. It applies the AI tech so as to enable users to blur face, background, any selected area on a photo with one click. Just select the area and choose Adjust > Blur. It is done.
 blur image with AVCLabs PhotoPro AI
II. Mobile App
* Snapseed
Snapseed is a popular mobile app available for both iOS and Android devices. It offers a wide range of editing tools, including selective blurring. And allows users to easily apply blurring effects to specific areas of the photo using the Brush tool.
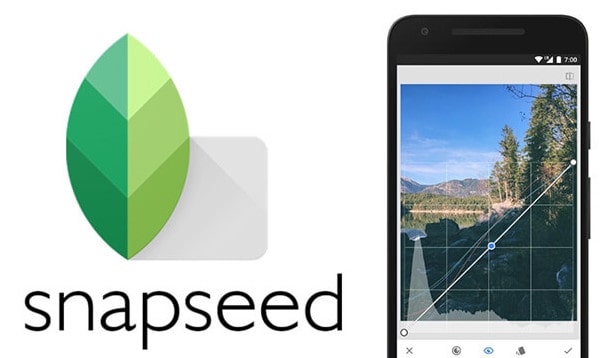 blur image with Snapseed
* AfterFocus
AfterFocus specializes in creating depth-of-field effects and selective blurring. It lets you choose the areas of your photo that you want to keep in focus and apply a customizable blur effect to the rest. You can adjust the strength, radius, and shape of the blur to achieve a desired effect. AfterFocus also provides additional editing features like filters, vignettes, and various aperture shapes.
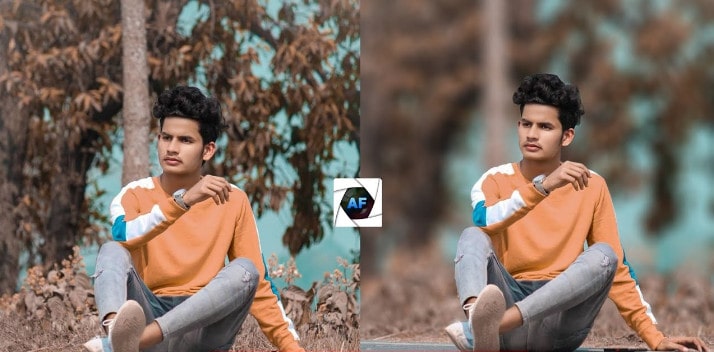 blur image with AfterFocus
* PicsArt
PicsArt is a popular photo editing app that offers a wide range of creative tools, including blurring effects. It provides options like Gaussian Blur, Motion Blur, and Tilt-Shift, allowing you to add different types of blurs to your images. PicsArt also offers various brushes and masks for precise blurring on specific areas. Alongside blurring, the app includes features like filters, overlays, text overlays, and collage making.
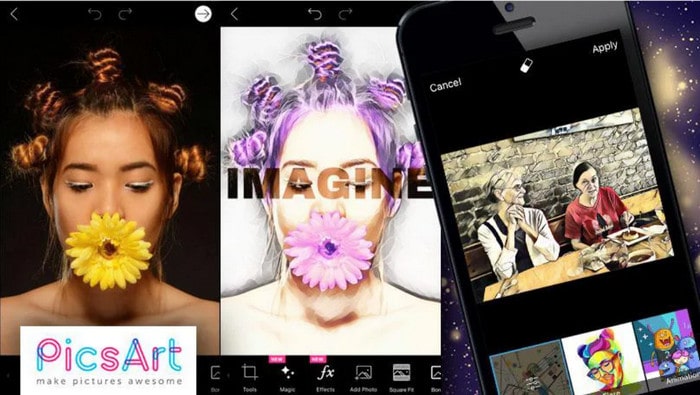 blur image with PicsArt
III. Online Tools
* Fotor
Fotor is an online photo editing tool that offers a range of blurring effects such as Smart Blur, Tilt-Shift, and customizable blur brushes. You can upload your image, select the desired blurring effect, adjust the intensity, and apply it to specific areas or the entire image. Fotor also provides additional editing features like filters, cropping, and resizing.
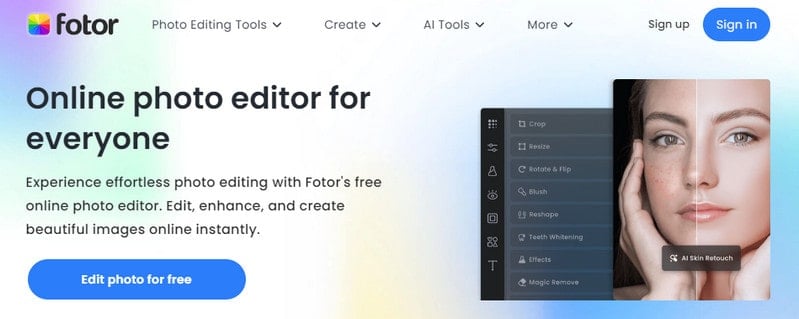 blur image with Fotor
* Canva
Canva is primarily a graphic design platform but also offers basic photo editing capabilities, including blurring effects. You can upload your image, apply blur to specific areas or the whole image, and adjust the intensity. Canva provides a wide range of other design elements, templates, and text tools, making it a versatile option for creating visually appealing designs.
 blur image with Canva
* BeFunky
BeFunky is an online photo editor known for its simplicity and user-friendly interface. It offers a range of blurring effects, including Smart Blur and Tilt-Shift. You can apply these effects selectively or to the entire image and adjust the intensity and shape of the blur. BeFunky also provides other editing tools such as filters, cropping, and text overlays.
 blur image with BeFunky
IV Comparison
The following is a comparison of the advantages and disadvantages of desktop software, mobile apps, and online tools for adding blurring effects.
# Advantages
Desktop Software:
1. Desktop software like Adobe Photoshop offers a wide range of advanced blurring options, allowing for precise control and customization of blur effects.
2. Can leverage the processing power and resources of a computer, enabling faster editing of high-resolution images.
3. Provides a comprehensive set of editing tools beyond blurring, allowing for more complex edits and professional-grade results.
4. Users can work on images offline without requiring an internet connection.
Mobile Apps:
1. Available on smartphones, allowing users to perform quick edits and apply blurring effects anywhere, anytime.
2. Ease of use with intuitive interfaces, making them accessible to users of all skill levels.
3. Leverage touch gestures to provide a more interactive and tactile editing experience.
4. Enable editing on the go, making them convenient for social media posting and sharing instantly.
Online Tools:
1. Be accessible from any web browser, eliminating the need for specific software installations or considering device compatibility.
2. Don't require storage space on the user's device since all editing is done on the server.
# Disadvantages
Desktop Software:
1. Desktop software may cost high licensing or subscription fees.
2. Some software requires some time and effort to become proficient in utilizing the advanced features. But AI solves this.
3. Is not as portable as mobile apps or online tools, limiting editing on the go.
Mobile Apps:
1. Offer fewer advanced blurring options, restricting the level of control and customization.
2. Less processing power and memory compared to computers, resulting in longer processing times.
3. The smaller screen might make it challenging to perform intricate edits with precision.
Online Tools:
1. Require an internet connection for editing, making them less suitable for offline use.
2. Have limitations in processing large or complex images due to server constraints.
3. Uploading images to online platforms raises privacy concerns, especially if working with sensitive or personal content. Consider these advantages and disadvantages when choosing between desktop software, mobile apps, or online tools for adding blurring effects based on your specific needs and preferences.
Part 3: How to add blur effect to a photo
Here is s step-by-step guide on how to add a blur effect to a photo. We take the AI tool, PhotoPro AI as an example since its steps are simple enough. First, go to visit the AVCLabs website. Just download and install the proper version of it on your computer.
Run it and open your photo in this AI program.
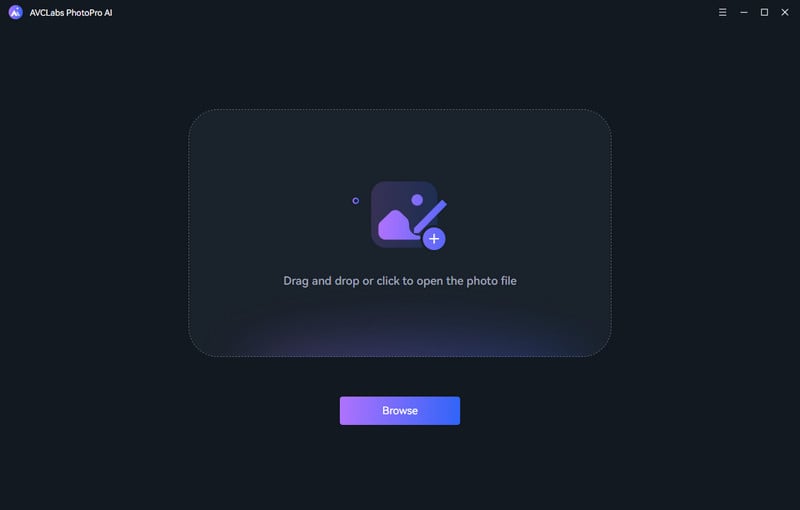 main interface
1. Blur the Background of A Photo (only 3 steps)
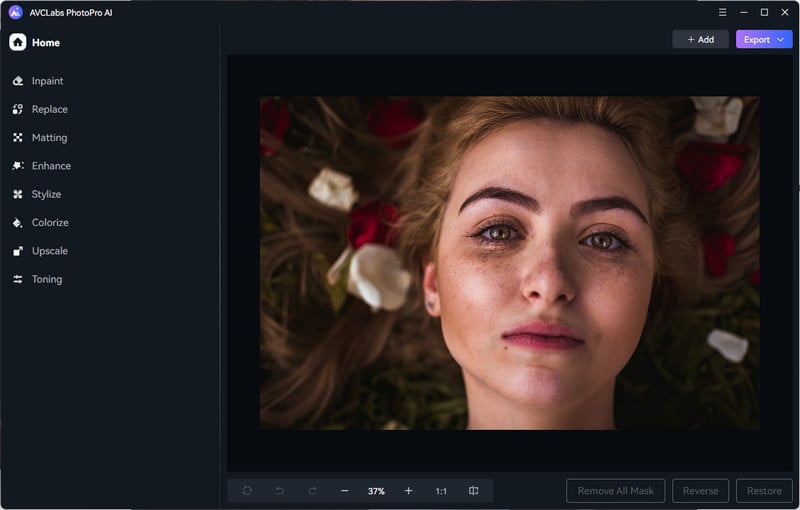
Step 1: Open your photo in the AVCLabs PhotoPro AI
To upload an image, you have two options:
* Click the "Browse" button and select the desired image from your files.
* Simply drag and drop the image file directly into the program.
The program supports a wide range of file formats such as PNG, JPG, JPEG, BMP, RAW, and many more.
Step 2: Use the tool --"Background Selection Tool" to pick the background.
Choose one of the selection tools from the left of the interface, such as brush, object, rectangle, or circle. To blur the photo background, it is recommended to use the "Background Selection Tool".
Step 3: Switch to the "Adjust" panel and choose Blur. Last, save your photo.
To access the blur feature, navigate to the top menu bar of the interface. Look for the "Adjust Color" model and give it a click. This will reveal the available options, including the "Blur" feature. To fine-tune the blur intensity, simply drag the progress bar as per your preference. You can try different levels of blur.
If you are satisfied with the outcome, go ahead and click the "Save" button to store the edited photo on your computer.
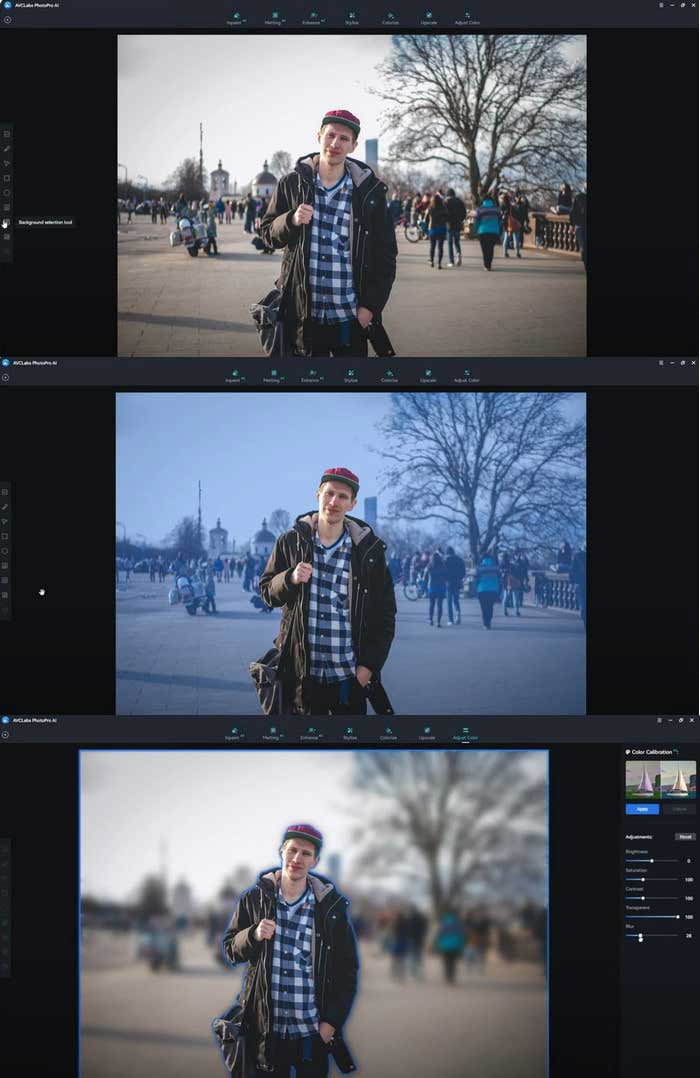 blur background of photo (only 3 steps)
2. Blur Faces (3 steps)
Step 1: Open your photo in the AVCLabs PhotoPro AI
Step 2: Use the "Object Selection Tool" to select the face.
To blur a face in a photo, it is suggested to use the "Object Selection Tool" from the left side of the interface. This tool, specifically recommended for blurring faces, automatically detects the outline of a human face and generates a blue frame around it. You can rely on it for effortless face blurring.
 blur faces in photo (only 3 steps)
Step 3: Switch to the "Adjust" panel and choose Blur. You can get the face blurred.
 blur faces in photo (only 3 steps)
Video Tutorial: How to Blur Background and Faces Easily with AI
Conclusion
In conclusion, for beginners looking to add blurring effects to their photos, the above are several easy and accessible options available. Among them, the online tool is the most convenient without downloading and installing any program on your device. If you prefer computer software, the AI tool is the simplest way such as AVCLabs PhotoPro AI. Overall, these easiest ways for beginners to add blurring effects to photos present accessible and user-friendly solutions.


Those worrying about background mess while on video call on Google Meet have good news to tone down their tension.
Google has now released the Google Meet background blur feature that video callers can use to mask the background mess and keep themselves in focus while video conferencing.
While detailing out the new feature about the Google Meet, Google has announced that the feature will be available for all G Suite customers.
The background blur feature integrated into the Google Meet allows users/callers not only to blur the unwelcoming background but also provides them with a bunch of Google Meet wallpapers to mask untidy background setting.


I placed the order from Aliexpress it came within a couple of weeks and here it is five in one Mini GPS Tracker as you can see for buyers cause pets surveillance seniors and kids so a variety of uses as you've got two different sets of instructions and they're both pretty much the same here's the tracker itself which if you've seen the other video I can tell you straight away it's a lot smaller than the other tracker there's various different ways of attaching the tracker to things this is the one powered way here's a magnetic way and Oshima the left hand there was the actual USB charger so you can fit the moment one.I'm honestly I'm not entirely sure what this one is I guess is for attaching to belts and we've got a little tool kit to be able to get into the tracker so I guess that's the the next step I've got my SIM card ready I've got my mini screwdriver so I'm going to take the back off it's just a simple matter of the two screws and then put it off with your your thumb nail the little SIM holder tray opens up now you need a nano SIM for this so your regular sim micro SIM and then nano SIM most times you get these days can be any of the three low you just saw then we're gonna pop it in make sure it's seated close the hatch slide it up and it locks in place we can then press the power button on the front you see the lights come on at this point to be an SDM really got any indication if it's set up you know if the Sims improperly so we're gonna go ahead and put the put the back back on with the two screws back in pace and here we are the lights flashing again I'm I entirely sure that indicates much what you do know is it says you should be able to call the number of the scene that's in the device any won't answer so won't go to answer machine and I tried that I rang the number and they just rang and rang around all's good so as with all these trackers you've got to text in the information to the tracker so you're texting to the sim that's in the tracker with the APN details.So the tracker or Messenger Tracker can set up the APN so that it can access the Internet basically you send it you should get a reply with it confirming and these are standard for giffgaff I do recommend giffgaff Sims I'll put a link down below you'll get five pounds credit if you use my link we then have to send the master phone number chiz my phone number that I'm texting from I'm not quite sure why show you figure out the basic blur the whole message out but that just lets it know that you are you are the master so now it's time I think to install the actual tracker app it's fairly small app strive for my clock so didn't take a second to download and the first thing to do is to register account phone number the device is the same that you put into the tracker and obviously then master phone with your phone number and then off here go into the app itself.

Lines Blur as Google, Facebook, and Amazon Eat the World – As the triopoly rises to the top and competes fiercely with each other for digital ad dollars, the worlds of search, social, and eCommerce will continue to blend together.
Marin Software’s Q3 Digital Advertising Benchmark Report found Stories represented 25% of their total Instagram ad spend, up from just 8% a year earlier—that’s a 212% increase YoY and rising.
So, it’s more important than ever to get the creative right, especially since Facebook is still working out the kinks of the format.
The Chatbot and Messenger Advantage for Brands – The number of mobile messaging app users in the U.S. will reach 171.3 million by 2022, according to eMarketer estimates.
The Opportunity: Messenger apps present an opportunity for brands to move conversations forward in a way unlike any other format.
Users often search for something much broader than a specific product, and beyond shaping marketing strategy, such marketing-centric data will increasingly be utilized across the organization.

Online ColorizationNumerous individuals can attest to the fact that photography styles consistently narrow down to personal taste.
No wonder we as a whole have different tastes and preferences with regards to colors.
Be that as it may, have you at any point pondered converting your images to black and white.
There are no rules to stick to in photography, particularly with regards to creative style.
Saying this doesn't imply that you can't get carried away simply in light of the fact that you need to colorize a picture.
To make it far and away superior, you can add grain effect to leave a more creative effect or a film look.


