


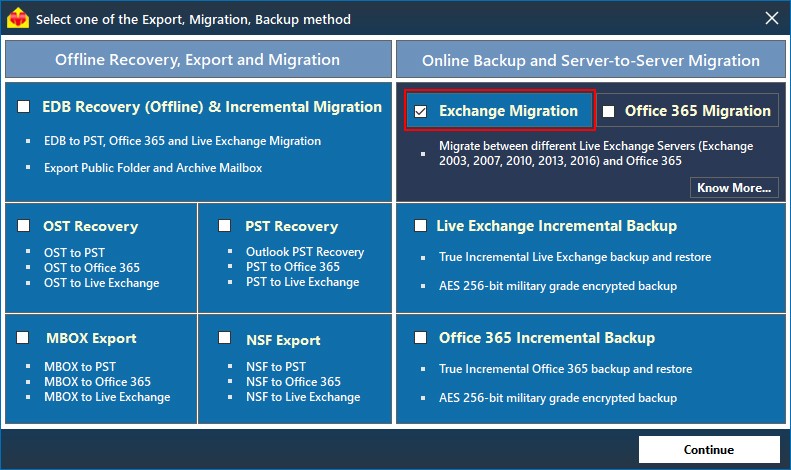
You can perform Exchange migration to Office 365 very easily using EdbMails Exchange migration tool. It is an easy solution for migrating mailboxes from Exchange server to Office 365 . You can migrate all the mailbox items using highly featured tool.
The key features of the Exchange Migration tool include:
1. High reliability and risk free migration
2. Intuitive GUI
3. True Incremental
4. Public and archive mailboxes migration
5. No limitation on size of mailboxes
6. Exclude folder facility
7. Highly secured and safe migration
8. Zero down time.
Free trial allows you to freely migrate 30 items from each and every folder .
Visit : https://www.edbmails.com/pages/exchange-2010-to-office-365-migration.html


Migrating to cloud can benefit your business in many ways, reducing your costs, increasing data security and workplace productivity, etc.
Office 365 migration services are very popular among businesses of all sizes as it delivers an impressive suite of utility applications to meet the business operations and goals.
There is no uniform cloud adoption strategy and it completely depends on the needs, challenges, and goals of your business to choose the right cloud solution.
Let’s see how moving to the cloud can benefit your business.


AllianceTek Blog - Learn how seven key planning steps that will help orchestrate a smooth, effortless migration to Microsoft Office 365.

By using the OST to Office 365 migration you can easily add & upload data from OST to Office 365 account safely and smoothly with full accuracy.
This ost to office 365 converter software has the ability to quickly import ost to office 365 accounts, Gmail mailbox, PST Outlook, Zimbra, Gmail, Live Exchange server, OLM, MBOX, EMLX, NSF, PDF, EML, MSG HTML and etc.

Because of this SharePoint throttling effect, sometimes SharePoint sites will also become unavailable and causes poor performance to the users accessing the sites.To address these issues, Microsoft came up with separate API for migrations named O365 Migration API.
Now we will see how this can be achieved using available API commands.We can either use the CSOM version of Migration API and code in C# or use the PowerShell one.To simply explain the process, I will show you how we can migrate the Library Items from SharePoint 2013 to SharePoint Online using SharePoint Online PowerShell cmdlets.As of now, Office 365 Migration API does not support the migration of site/list schema.
Only content like files, folders, and items can be migrated along with its metadata, unique permissions, and versions.So, to migrate the content using this API, initially, a List/library with columns should be created at the target.Steps to use PowerShell cmdlets to migrate from SharePoint 2013 to SharePoint OnlineBefore you beginCreate an Azure Storage AccountInstall the SharePoint Online Management ShellStep 1: Setup your working directoryStep 2: Export your SharePoint List/Library content as a Content PackageStep 3: Generate the Manifest PackageStep 4: Submit packages to Azure Storage AccountStep 5: Start your migration jobStep 6: Monitor your migration jobStep 1: Setup your working directorySet up your working directory by creating two empty folders in SharePoint 2013 Server.Create a Temporary package folder.
So, make sure you run the code in the same PowerShell console otherwise you may end up with “Not Found” exceptions.Step 2: Export your SharePoint List/Library content as a Content PackageExport your SharePoint Library Content as a Content Package to your source-package folder in your working directory by using the Export-SPWeb cmdlet.Run SharePoint Online management Shell as admin and run the following commands substituting your values: Once the command executed successfully, a Content Package will be created at your working directory folder “source-package”.
This package consists of .dat files (pointing to your actual files) and few XML files (which holds files metadata and other information related to Source)Now let’s see how to generate a target Manifest Package based on this Content Package and target Site details.Step 3: Generate the Manifest PackageThe Manifest package is a package of XML files that define metadata, versioning information, permission information, user and groups, lookup relationships if any for your items and the settings for your import.Refer to Content migration schemas for more details about these manifest files.To simply generate the manifest package targeting your destination environment, run the following commands substituting your values:You can find this cmdlet detail here ConvertTo-SPOMigrationTargetedPackageOnce the command executed successfully, you can see your Manifest Package at your provided target-package working directory location.Step 4: Submit packages to Azure Storage AccountNow let’s submit the generated Content Package and Manifest Package to Azure Storage Account.These packages will be created as containers in Azure Storage Account.
You can get them from here.You can find this cmdlet detail here Set-SPOMigrationPackageAzureSourceOnce the command executed successfully, you can see Content Package, manifest, and queue containers with your packages in your Storage Account.Step 5: Start your migration jobNow let’s submit and start a migration job referenced to a previously uploaded package in Azure Storage Account.You can find this cmdlet detail here Submit-SPOMigrationJobStep 6: Monitor your migration jobAt this step, Azure will take care of migrating your content to the destination.


