


We always deal with deleting a file from a computer, by entrusting it to the trash/recycle bin.
But, any user with good knowledge of precise tools can recover them.
For a good go, shredder machines are there to eliminate the hard copies and paper, but what about your PC’s files and documents?
So, you must be thinking of the actions and measures to be taken to avoid wipe out an entire record from the hands of a hacker.
Yes, you read it right!
And, it also flushes the system to accelerate the disk storage.


If your PC takes too much time to respond on any task, then you must install PC optimization software in your system. These PC optimization software will optimize and clean up junk files from your system.
checkout the list of best pc optimization software in this article.

If you are dealing with a computer you bought long time ago, then you may experience slow processing.
Most times you may think that this is because your machine is old or newer software are unable to cope with your existing hardware.
Therefore, it is better to take help of the best RAM cleaner software to enhance overall performance by boosting up RAM.
In addition to this the software comes with the disk optimization feature which helps to keep your disc defragmented and managed.
You can choose it to be a one click process alternatively you can optimize the RAM by viewing details of scan and manually optimizing your computer.
Another best part about the software is that it is a memory optimizer which can automatically fix issues related to software on your computer.

Hi friends, Alvin is here again with a new blog Best DATA Recovery Software 2017.
By the way, it is a sequel of our famous and most shared blog Top 10 Best Professional Data Recovery Softwares.
This recovery tool helps you to repair corrupt DBF files in no time.
Restores corrupt DBF files in no time
DBF Recovery Tool Supports recovery of DBF files from databases like: Visual FoxPro, dBXL, Clipper, dBFast, dBAsell, dBase lV, dBase V, Arago, CodeBase and MultiBase
Performs recovery of Tables and fields.

Do you want to use both operating systems, Windows and Ubuntu on your computer? Setting up the dual boot is the best way to achieve your goal of using two operating systems on a device. In this article, we are about to learn how to create a dual boot on your computer for Windows and Ubuntu.
Follow these steps to install Windows and Ubuntu
• Firstly, you have to start your Windows 10 PC.
• After that, you have to download Ubuntu.
• You should download Ubuntu as “iso” file.
• Then you should hit “Window start + R” keys.
• When the prompt comes, enter “Diskmgmt.msc” and hit “Enter.”
• Thereafter you have to right-click on Windows drive and click on “Shrink Volume.”
• Make sure your drive has some space.
• Now, enter the amount of volume which you wish to shrink. You need to have a minimum of 50 GB for Ubuntu.
• After that, you have to wait to finish the process and close the screen.
• Then you should connect the USB Drive.
• Thereafter you have to the right click on Window drive and choose “Format.”
• Later you should select “File System” from the drop-down and choose “FAT 32”.
• Now, you have to hit on “Format.”
• Then you have to wait to finish the process and select OK.
• After formatting, you have to download the “Etcher” tool.
• Once you have downloaded the software, you should choose the executable file and follow the steps on the screen to install it.
• After installing, you should launch the “Etcher” tool and choose the “Select Image” option.
• Then you should choose the “iso.”
• Thereafter you should choose the “USB Drive.”
• Now, select the “Flash,” and the tool will start to make the USB bootable.
• After this process, you should connect and reboot your PC.
• Then hit the “F10” or “F12”. It will depend on your system’s boot menu.
• Thereafter you should move down and choose the USB.
• Now, jump the next screen and choose “Try Ubuntu Without Installing” option.
• Once your PC has startup into Ubuntu, Then you should select the “Install Ubuntu” option.
• Now, you should choose your language and select “Continue.”
• Then jump to the next screen and tick mark the “Normal installation” button and untick the “Download Updates While installing Ubuntu” option.
• Thereafter you have to click on “Continue.”
• Go to the next screen, tick the “Install Ubuntu Alongside Windows Boot Manager” and select the “Install Now.”
• Now, the installation procedure will start.
• After completing the process, you should type the account information for Ubuntu sign in.
• Now, during startup, you will get to choose the dual boot option.
Sam John is a self-professed security expert; he has been making the people aware of the security threats. His passion is to write about Cyber security, cryptography, malware, social engineering, internet and new media. He writes for McAfee security products at www.mcafee.com/activate.
source: Windows and Ubuntu

How to Analyze Disk Space in Windows 10/8/8.1/7
If your hard drive is starting to fill up unknowingly where you start to wonder what exactly had happen to your disk that is taking up all the space.
That’s when come in the need to analyze disk space where you require to find how much space is filled and how much space is actually empty to work with.
There are many query asked by user like: how to analyze disk space in windows 10?
If you are facing such issue, then read the complete blog to get the solution on analyzing hard disk space for your system.
Analyze Hard disk space by CMD command
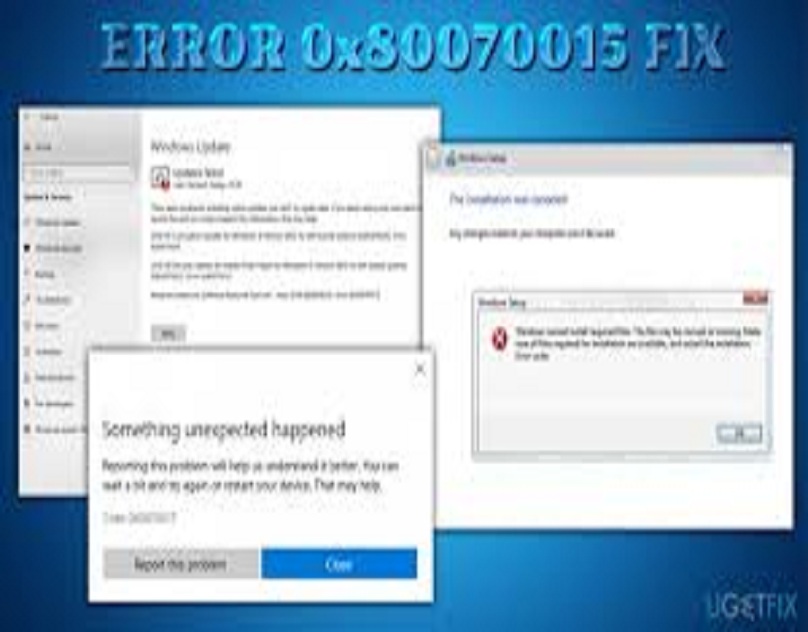
The Windows Upgrade error code 0cx80070015 is the alphanumeric error which is often reported by the users when they are upgrading the computer system to Windows 10, or trying to install the Windows updates, or whenever any user is trying to download the applications or programs from the Microsoft Store.
This Error Code 0x80070015 is referring to the Windows 10 Update errors.