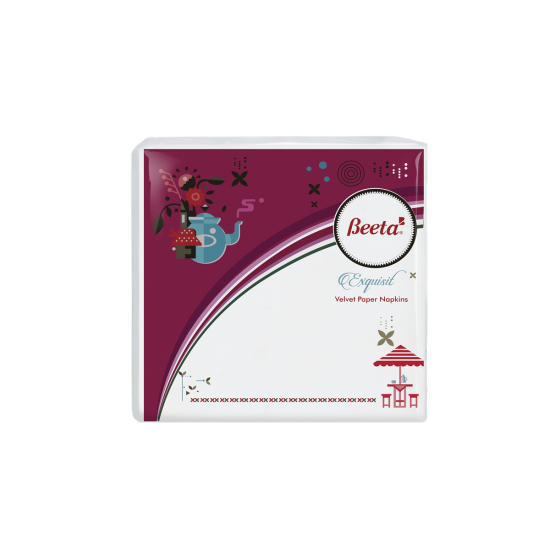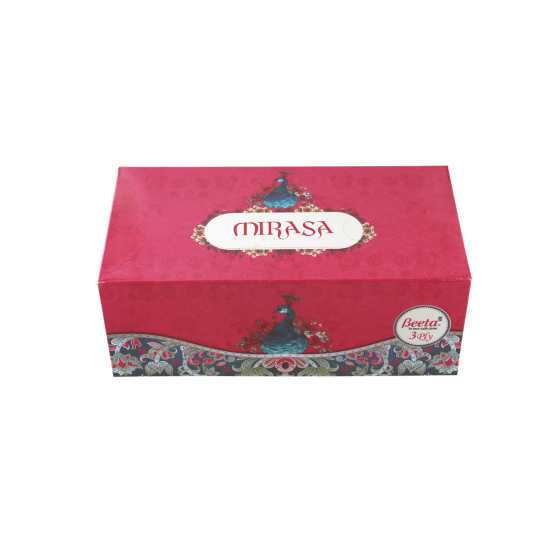

Custom napkins are standard on all memorable occasions: birthdays and baby showers, office pot lucks, promotions, or retirements. In more ways than one, they add a unique charm, personal feel and a touch of fancifulness whether they are used specifically for a holiday or preferred to personalize office parties with the company logos. 
How to make custom napkins?
You are supposed to follow these steps to customize paper napkins:
- Create your design first: All you need first is a digital version of your preferred format to transfer a design on your napkins. It can be create don your own or sourced online. Make sure to check the rules for licensing).Building design with pen and paper needs you to scan and save the digital version. At the same time, creating the layout on a computer or sourcing online requires you to keep the file on the computer.
- Gather your materials: To customize your napkins at home, you are required to have these accessories:
- Paper napkins from heavy-duty to multi-ply napkins’ options;
- Freezer paper;
- Your digital design;
- An iron;
- An inkjet printer in smear-and water-resistant printer options for high quality.
- Cut the freezer paper: Take your freezer paper and cut it to size accommodative enough to fit into your printer, as printers and napkins come indifferent sizes. We would instead advise that you measure your printer tray and an unfolded napkin to determine the proper size of your freezer paper.
- Iron a napkin on top of a cut piece of freezer paper: Begin placing a napkin on to a cut piece of freezer paper. You can thus make sure that the napkin rests on the shinier side of the freezer paper. Next, preheat the iron to a medium setting, proceed gently ironing the napkin onto the freezer paper. It would be a pretty good idea to test a small patch before ironing the entire napkin so that it doesn’t get ruined in case of improper handling. Also, ensure that the napkin fully adheres to the freezer paper so that it doesn’t catch inside the printer in the subsequent step.
- Now print your design: You are all geared up now, so place the resulting combo into your printer after successfully ironing a napkin onto apiece of freezer paper. Now line it up just like a regular printer paper. Make sure that the napkin is oriented correctly. Once the napkin is lined up, comes the time to print the design using the file saved on a computer.
- Finally, remove the napkin from the freezer paper: Once the design has been printed onto the napkin, it’s time to let the napkin and freezer paper cool down a bit. Then, taking all care not to tear the napkin, gently peel the napkin off the freezer paper. Your napkin is all set to use after the freezer paper is removed.
Making your customized napkin may require some time and effort. But it will give you an exhilarating experience and certainly make your guests buoyant at your next memorable occasion.
For more information you can visit here : https://www.beetatissues.in/


