


Are you looking for the procedure to export QuickBooks Desktop file to QuickBooks Online? If yes, then the contents of this blog will help you through the process. Just make sure that you login to the system with administrative privileges and also close all the programs running at the backend during the export process of your QuickBooks Desktop file to QuickBooks Online.
Notably, users have 60 days from the time of the creation of the QuickBooks Online account for moving the data. So, without any delay, let us embark on the walkthrough.
Steps to export QuickBooks Desktop file to QuickBooks Online
Implement the technical steps given below in order to export QuickBooks Desktop file to QBO without any facing any technical hurdles.
Step 1: Prepare the Company file to be exported
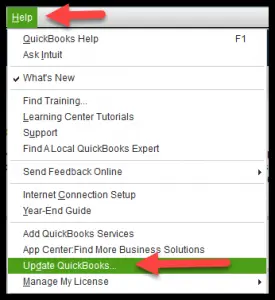
- The user should initially make sure that QuickBooks has been updated to the latest version. For this simply, head to the File menu and following that, go with the Update QuickBooks Desktop option. Finally, hit the Get Updates tab to download the updates.
- After that, run QuickBooks, get the updates installed, and then hit the F2 key in order to reveal the Product Information window.
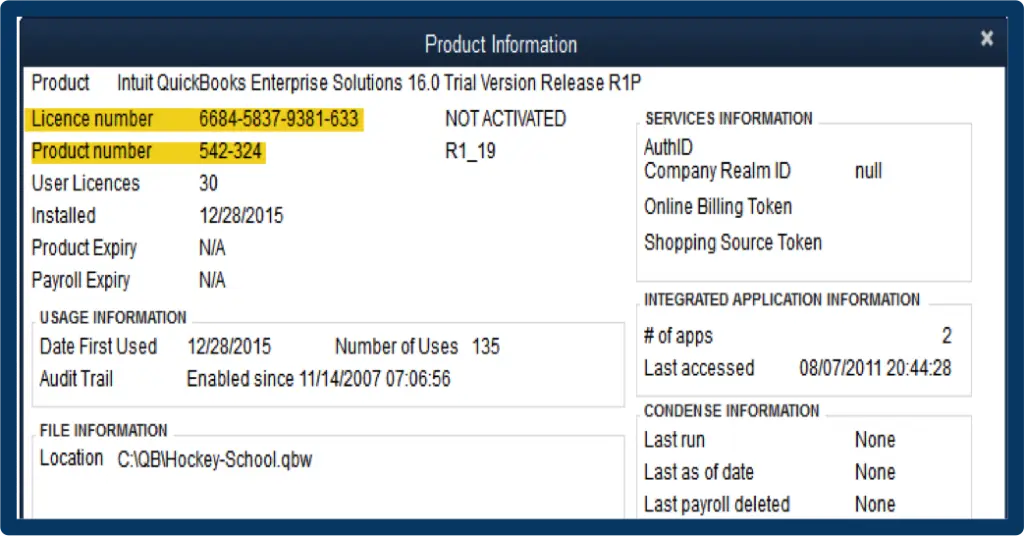
- On this screen, check the version and release of your QuickBooks copy. The preferable versions for the export process include: 2019 R17, 2020 R15, 2021 R10, and 2022 R5. However, the process can also work with other versions as well.
- The user should ensure that the Company file to be exported is not too large in size.
- Notably, the file target limit of the Company file should be within 750,000. Just in case it exceeds the 750,000 marks, it cannot be exported to QuickBooks Online. If the file cannot be compressed, then the only data that can be exported constitutes the import lists and balances.
- The user should print one copy of the Sales Tax Liability report. After the completion of the export process, the user I required to incorporate adjustment entries.
- Head to the Reports menu, and from there, opt for Vendors & Payables.
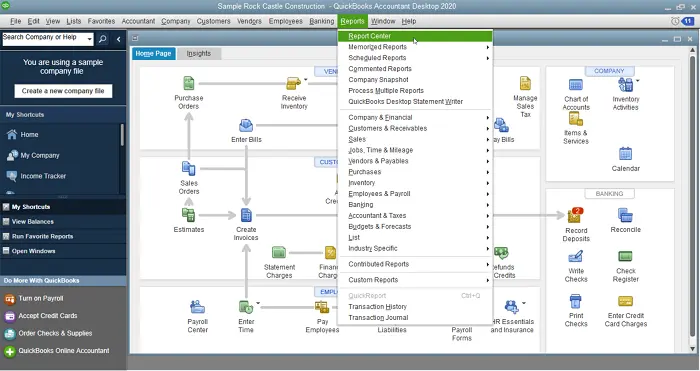
- Therein, hit on the Sales Tax Liability option.
- Now, make a move to the Dates dropdown, and then choose select All.
- Subsequently, hit on the Print dropdown, and followed by that, tap on the Save as PDF option.
- Opt for the folder where you wish to save it, and finally, hit on Save.


The conversion from QuickBooks Desktop to Online is useful for some entrepreneurs.
The means in this article are for Convert QuickBooks Desktop to Online.
Go to "Records" at that point "Utilities" and afterward "Duplicate Company Files" for QuickBooks on the web.
When done "Save the document" in your work area administration.


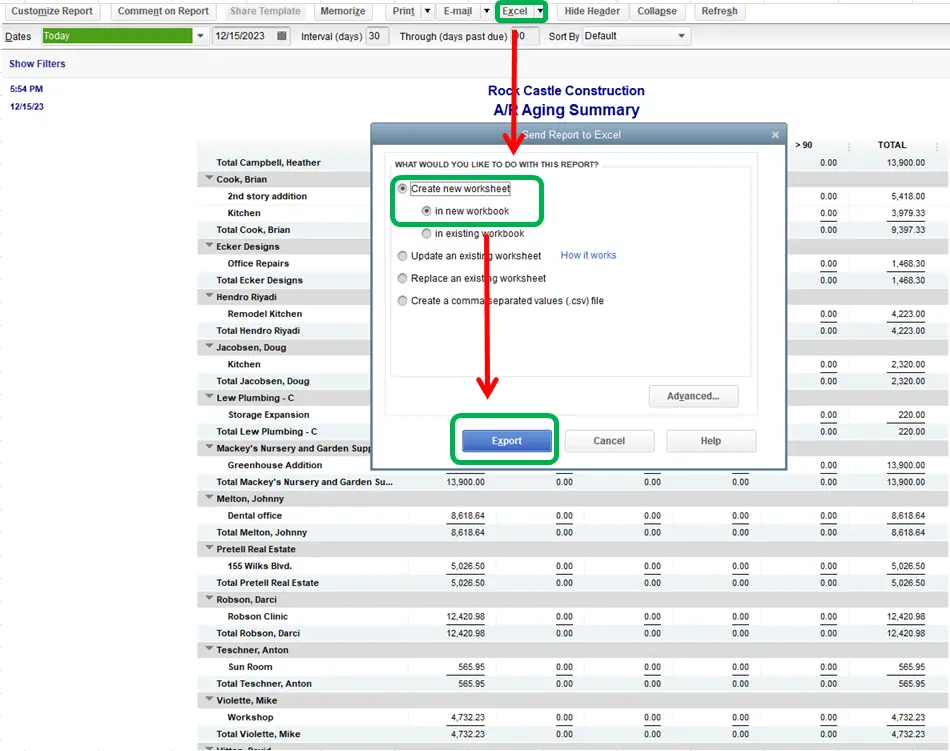
QuickBooks export to Excel not working error usually shows up when you are using an old version of QuickBooks Desktop program.
Due to this, the old version of QB software didn't support the newer version of excel.
To solve this error upgrade your QuickBooks Desktop or Online program with the latest version, or you can directly get in touch with our certified technical experts to get an instant resolution dial (855)-526-5749.

Once a solid Chart of Accounts is set up in QuickBooks, accounting becomes much easier.
Starting a new company file doesn’t mean you have to start a new Chart of Accounts.
Here you know how to export Chart of Accounts in QuickBooks file, modifying it in Excel, and importing it into a different file.


